
How to Organize Deep Kitchen Drawers
Measure usable drawer space, choose practical layouts for utensils, cookware and dry goods, and test the arrangement before buying organizers.
7 min read
Identify corner cabinet types, map easy-reach zones and compare simple layouts with correctly matched rotating or swing-out fittings.
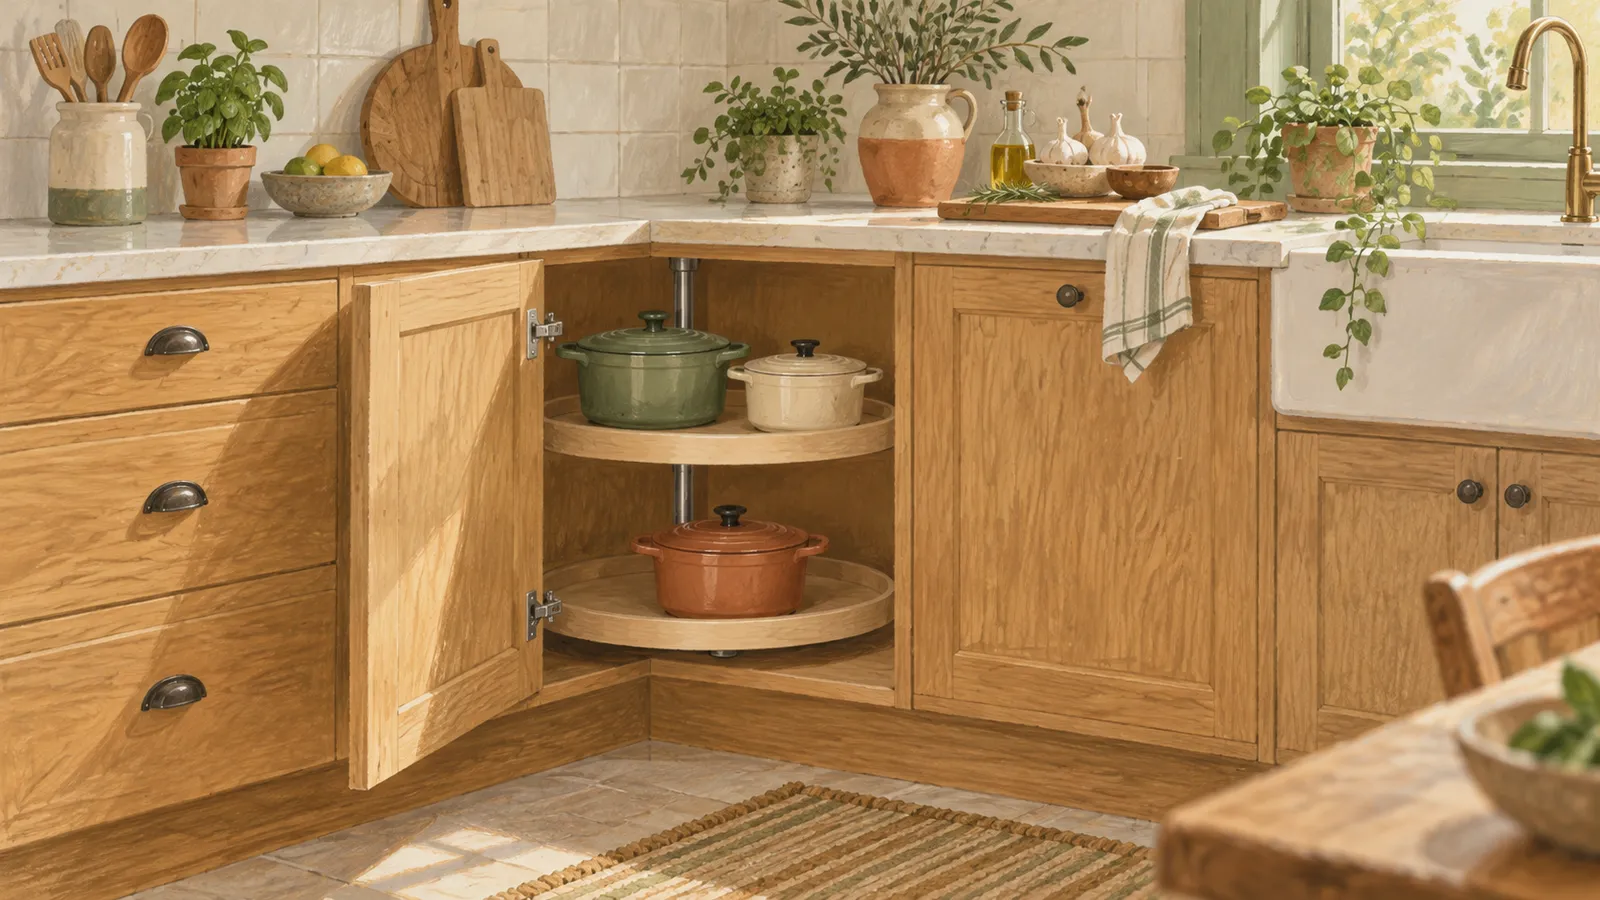
AI-generated editorial illustration; a conceptual scene, not a product photograph.
Organize a corner kitchen cabinet around what you can retrieve comfortably. Keep daily items near the opening, group occasional items in manageable containers and leave a clear path into the corner. If the cabinet already has rotating shelves, use fewer stable groups and keep handles inside the shelf boundary.
Before buying a pull-out fitting, identify the cabinet type and try moving your daily items closer to the opening. Sometimes the most useful solution is to store less in the deepest section.
A blind corner has a door on one side and storage extending behind the neighbouring cabinet. An angled corner generally has a diagonal opening. An L-shaped corner may have folding doors and a broad interior. These shapes create different access and installation requirements.
Measure the actual opening, not just the nominal cabinet width. Include hinges, door projections, internal braces, shelves and pipes. Record the clear height at each level and how far the door opens. A mechanism can fit inside the box but fail to pass through its doorway or swing past the next handle.
Write down the cabinet make and approximate installation date if you know them. Different generations of one kitchen system can use different fittings. IKEA’s current UTRUSTA base carousel listing has its own dimensions and load limits. Compare them with your cabinet before considering it as a retrofit.
Empty the cabinet and divide the floor into three zones: easy reach, reachable with a deliberate movement and difficult reach. Test these zones from your normal standing or seated position. Do not use a chair or climb on the worktop to retrieve cookware.
Use the easy zone for things needed most days. The middle zone can hold occasional lightweight objects. A difficult zone may be best left partly empty, especially if retrieving an object requires awkward lifting or moving several heavy pieces.
Use the minimalist kitchen guide to sort out which items you need. Then check that you can comfortably retrieve each one from its proposed position in the corner.
| Cabinet situation | First arrangement to try | When hardware may help | Reason to buy nothing |
|---|---|---|---|
| Blind corner with fixed shelves | Daily items at front; one light occasional group behind | Frequent objects remain unreachable | Back space is needed only a few times a year |
| Existing rotating shelves | Low stable groups with clear edges | Mechanism is worn or unsuitable and can be correctly replaced | Rotation works once excess contents are removed |
| Angled corner | Separate front and side groups | A compatible fitting addresses a specific reach problem | Open doorway already gives adequate access |
| Corner with pipes or unusual bracing | Small movable containers away from services | Specialist planning confirms compatibility | Mechanism would reduce useful space or interfere with access |
Confirm dimensions, load ratings and cabinet compatibility with the manufacturer before fitting hardware.
Put the thing you use most often just inside the door. Behind it, use a lightweight group that you can bring forward as one unit, provided it fits through the opening and you can lift it comfortably. A washable basket of baking accessories may work; a tub full of cast iron is a different proposition.
Avoid several small loose objects spread across the back. They are easy to forget and difficult to see. Leave the front route wide enough for the rear group to come out without catching on a saucepan handle.
If the corner holds food, keep original date and ingredient information visible. Do not send short-life ingredients into a hidden area merely because they fit. The deep section is better suited to something you can inspect and retrieve deliberately.
A hypothetical no-purchase layout might put two daily saucepans at the front, a light bowl containing occasional cake tools behind them and a large infrequently used tray along the side. It only works if the tray can be removed without lifting the entire front group.
Turn the shelf slowly while it is empty and observe the boundary of its movement. Objects must stay inside that boundary, including handles. A pan that protrudes beyond the edge can catch on the cabinet or door.
Arrange tall and heavy objects according to the fitting’s instructions. Do not create a tower of bowls that rocks every time the shelf turns. Use short nests and distribute contents sensibly within the stated load limits.
Leave enough space to see the objects and take one out. A carousel packed to its maximum physical capacity can still be hard to use. You should be able to turn the shelf and lift out a pot without moving its neighbours.
If something falls behind the shelf, stop and retrieve it safely rather than forcing the mechanism. Check the assembly and maintenance instructions if the shelf catches or wobbles. Adding more weight is not a remedy for a fitting that needs adjustment.
A correctly matched mechanism can bring the rear contents toward the doorway. Kesseböhmer’s LeMans description explains its turning and swivelling shelves. Compare that movement with the path a pot would need to take out of your cabinet. We have not independently checked the manufacturer’s capacity claims.
These systems need a clear movement path outside as well as inside the cabinet. Check neighbouring doors, handles and the space where you stand. Left- and right-handed versions, doorway sizes and cabinet construction can matter.
Use the manufacturer’s installation documents for the correct product generation. Ask a qualified installer to confirm suitability if the cabinet is unfamiliar. Include installation and possible adjustment in the budget for the mechanism.
Compare the result with moving daily cookware to a better cupboard. If the expensive fitting would only improve access to a rarely used pot, reassignment may be the more useful answer.
Before ordering, record the door opening width, internal width and depth, clear shelf height, hinge projections, door opening angle and obstacles. Note the weight of the intended contents and the manufacturer’s limits. Sketch the mechanism’s path outside the cabinet if relevant.
Name the inconvenience it will remove, such as “I need the back frying pan every evening and cannot retrieve it comfortably.”
Our pots and pans storage guide can help you compare a corner fitting with a low drawer or simple rack. If a drawer is available, use the deep drawer worksheet before assuming that cookware belongs in the corner.
After a week, check whether you still remove other objects to get the one you want. Move that object forward or give it another home. If a rear container has become too heavy, split the group or change its contents.
Leave unused depth alone when filling it would make daily cooking harder. Keep the pans you use close to the opening, and give the back space only to items you can still retrieve comfortably.
Sources describe their own scope and limitations. Read our sourcing policy.
Read more from the Minimalist Kitchen Living pillar.
Minimalist
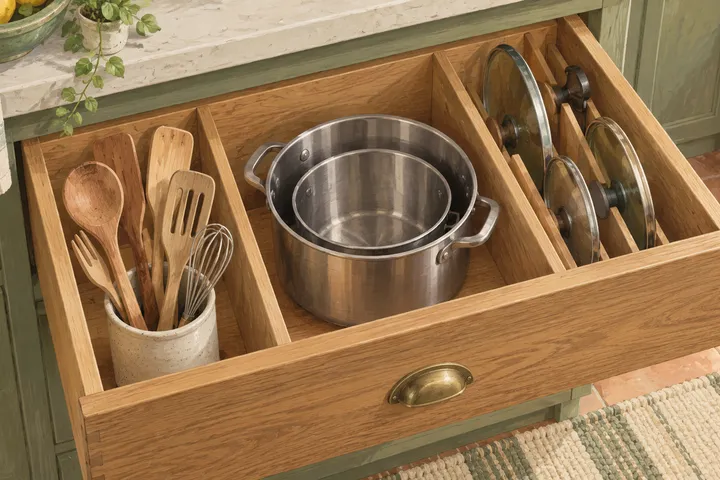
Measure usable drawer space, choose practical layouts for utensils, cookware and dry goods, and test the arrangement before buying organizers.
7 min read
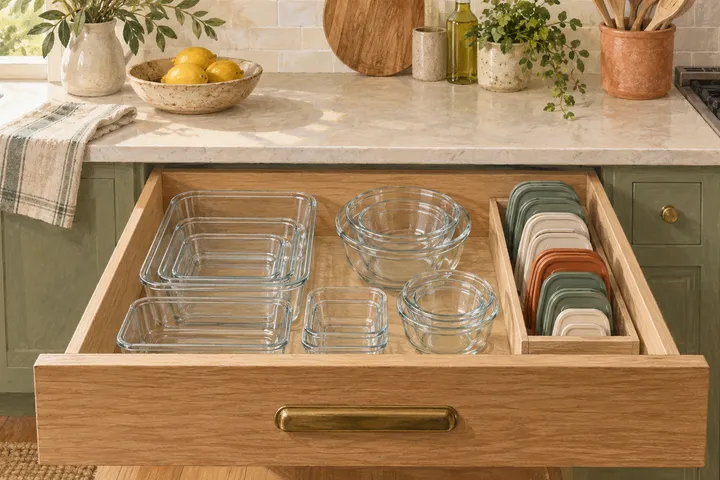
Match containers to lids and real meals, then choose nesting, upright dividers or assembled pairs with a practical weekly worksheet.
7 min read
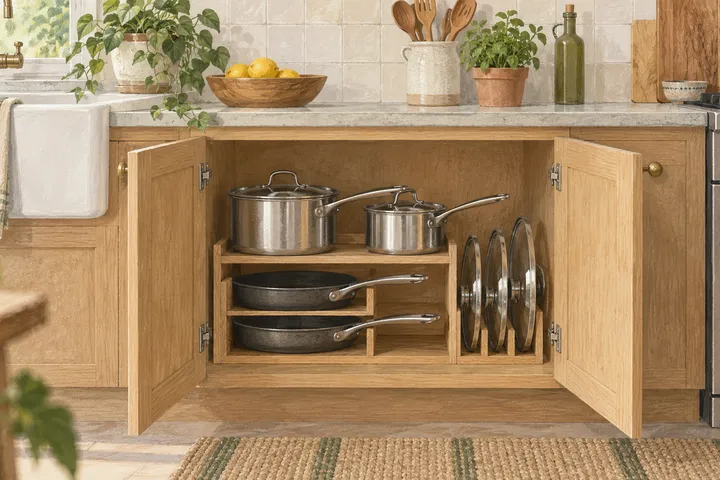
Compare stacking, upright racks, deep drawers and hanging rails to store everyday cookware comfortably in a small kitchen.
7 min read