
How to Organize a Corner Kitchen Cabinet
Identify corner cabinet types, map easy-reach zones and compare simple layouts with correctly matched rotating or swing-out fittings.
6 min read
Match containers to lids and real meals, then choose nesting, upright dividers or assembled pairs with a practical weekly worksheet.
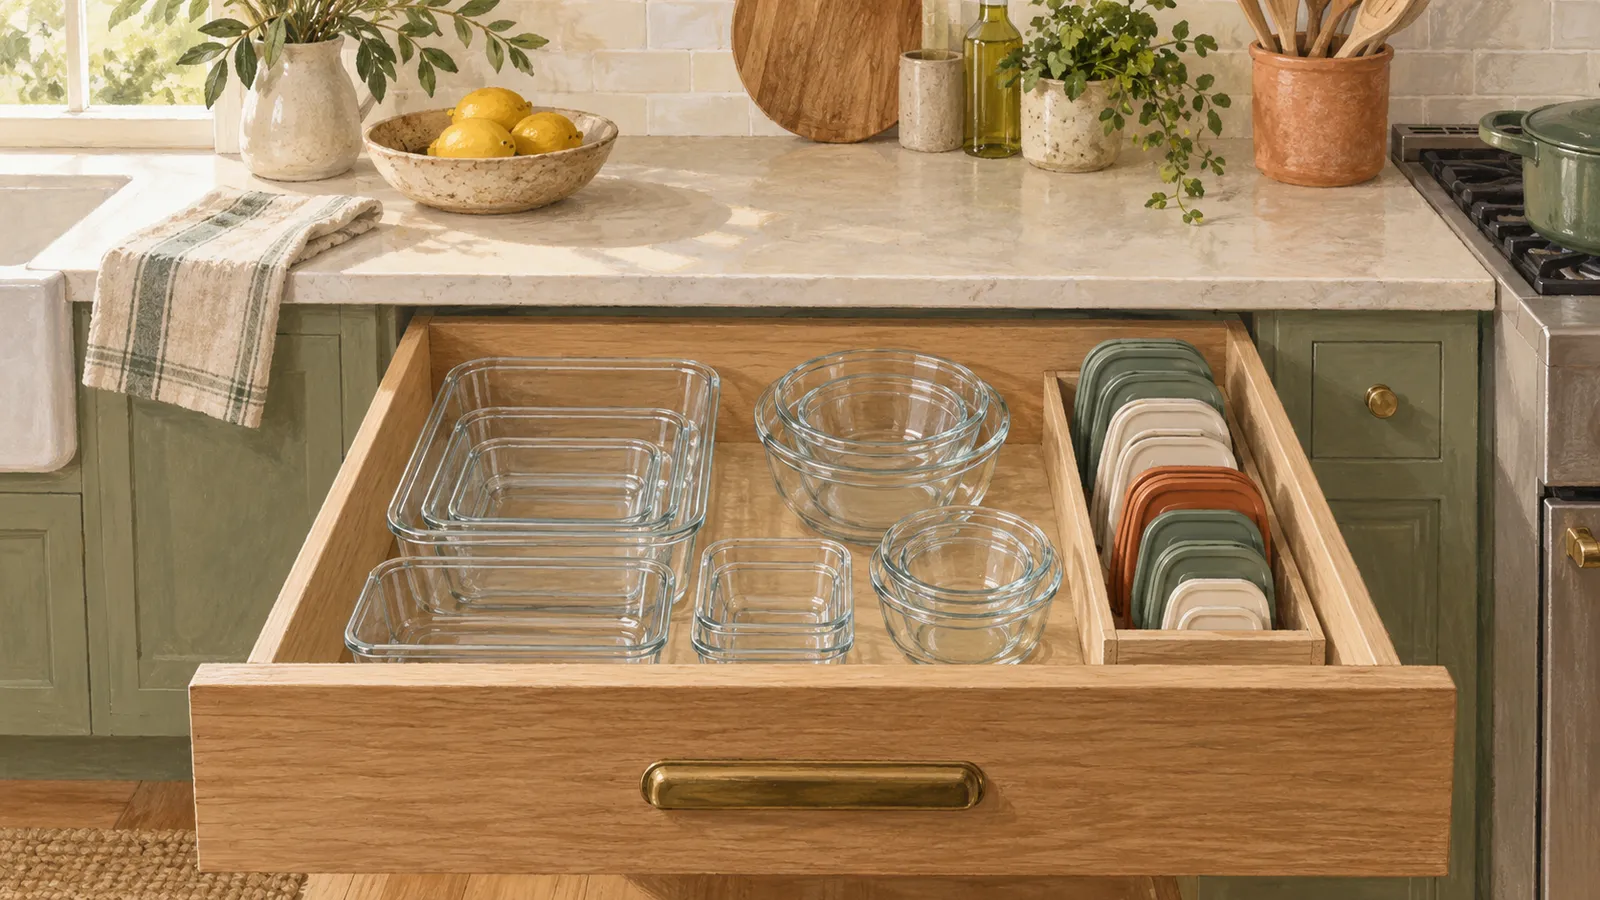
AI-generated editorial illustration; a conceptual scene, not a product photograph.
Organize food containers by matching every usable body to its lid, keeping a collection that suits your actual meals, and giving both parts one reachable home. Store lids upright in a divided section when you nest the bodies; keep pairs assembled if you have only a few containers and enough space.
Do the matching before buying an organizer. Use the minimalist kitchen guide if you need help deciding which spare equipment to keep.
Empty the container cupboard and gather boxes from the drying rack, bags and other cabinets. Work when most containers are clean and available. Leave a note for any box currently holding food rather than declaring its lid missing.
Try each lid on its intended body. Similar dimensions do not establish a compatible seal. Check the model or series name where available, especially when lids from different generations look almost identical.
Make four groups: complete usable pairs, temporary unmatched parts, damaged pieces, and containers with a defined secondary use. A small box used for craft supplies can leave the food-storage cupboard. An unidentified lid does not need a permanent position beside your lunch equipment.
Keep unmatched pieces in one small holding box until the next normal wash cycle has passed. Then decide whether a replacement part is available and worthwhile. Set a date to review the holding box so unmatched parts do not spread into another cupboard.
Count the containers used at the same time, including those in the fridge, freezer and lunch bag. A household with two packed lunches and frozen batch portions needs more boxes than someone who usually cooks a single serving.
Fill in the worksheet for one ordinary week, counting the containers you need at the same time. The example quantities are hypothetical and belong to one household.
| Job | Example simultaneous need | Suitable format to consider | Storage destination |
|---|---|---|---|
| Packed lunch | Two portions | Two secure, manageable boxes | Front of drawer |
| Near-term leftovers | Two portions | Shallow boxes with visible labels | Middle of drawer |
| Later cooked portions | Three portions | Containers explicitly suitable for freezing | Rear section |
| Small extras | Two sauces or snacks | Small matched pots | One basket |
| Occasional shared dish | One | A suitable larger vessel | Separate lower shelf |
The example has nine everyday containers and one occasional vessel. Yours may be smaller or larger. Add a modest spare if it prevents a practical problem, such as having no clean lunch box when one is still at work.
Also count fridge space. A stack of empty boxes can fit a cupboard while their filled counterparts cannot fit the refrigerator. The schedule in meal prep for one with a small fridge helps connect container capacity to a realistic food plan.
| Method | Good fit | Advantage | Watch for |
|---|---|---|---|
| Bodies nested, lids upright | Several compatible sizes | Compact empty storage | Searching if lids are mixed together |
| Complete pairs assembled | A small collection | Fast to grab | Uses more cupboard volume |
| Pairs in separate baskets by job | Shared kitchens | Lunch and freezer equipment stay distinct | Too many categories create extra sorting |
| Large vessels on a shelf | Heavy or awkward shapes | Avoids an unstable stack | Shelf access and safe lifting |
Try the simplest method first. If six boxes fit comfortably as assembled pairs, a detailed lid filing system may add work. If twenty boxes must share one drawer, nesting by shape and dividing lids can make a useful difference.
Do not force vessels together so tightly that you need to pull hard to separate them. Keep heavy glass low enough to lift comfortably. Follow the cleaning and drying instructions before putting the parts away.
Group lids by the matching body shape, then size. Use a small freestanding basket, suitable divider or organizer with gaps wide enough for handles and clips. Keep the lids upright without bending their edges or trapping seals against sharp supports.
Check clearance above the tallest lid before committing to a drawer location. An organizer’s own height does not include the lids projecting from it. In a cupboard, make sure you can slide the whole group forward without catching on the hinge.
For the US-listed YouCopia StoraLid 24 Lid organizer, the manufacturer lists five adjustable dividers, a base about 27 × 34 × 8 cm (10.8 × 13.2 × 3.3 inches), and compatibility with lids up to roughly 23 cm (9 inches). It specifies hand washing for the organizer. Measure your lids against those limits and allow for clips and handles before relying on the stated capacity.
IKEA’s VARIERA lid organizer is designed for pot lids. If considering a similar rack for food-container lids, test the spacing and stability rather than assuming the two jobs are identical. Thin lids can fall through supports intended for thicker cookware.
A lid and body can have different temperature limits. Preserve the instructions for microwave, freezer, oven and dishwasher use, including whether a lid must be removed or vented. Use a simple note inside the cupboard if family members regularly confuse the parts.
Pyrex’s official FAQ distinguishes glass-use precautions and lid restrictions. Read the instructions for both parts before heating a container; the lid can have a lower temperature limit than the body.
When deciding which bodies to keep or replace, the comparison of glass and stainless steel food containers covers carrying weight, visibility and model-specific heating claims. Once you have chosen the bodies, return each matching lid to the same section so the pair stays easy to find.
A large salad bowl may not belong in a nested lunch-box stack. Give it a separate home if you use it regularly. The same applies to a tall jar, an insulated food flask or a container whose clips catch on its neighbours.
Keep small sauce pots in one bounded basket with their matching lids. Without a boundary, they tend to occupy every gap and fall behind larger boxes. A single basket that lifts out is easier to review than several miniature compartments.
If one unusual container repeatedly disrupts the arrangement, decide whether its job matters enough to reserve space. You can keep useful exceptions without allowing every free takeaway tub to become permanent equipment.
After washing, return each piece to its assigned group. When a new container arrives, match it and give it a job before it joins the drawer. Replace a broken lid when a compatible spare is available; do not accumulate several uncertain substitutes.
Review the collection when your routine changes, such as starting packed lunches or cooking more freezer portions. A fixed number is less useful than a collection that reflects current meals.
Leave one small gap for the box that is still in use. Check that you can return the clean pieces without pushing, balancing or searching for a space.
Sources describe their own scope and limitations. Read our sourcing policy.
Read more from the Minimalist Kitchen Living pillar.
Minimalist
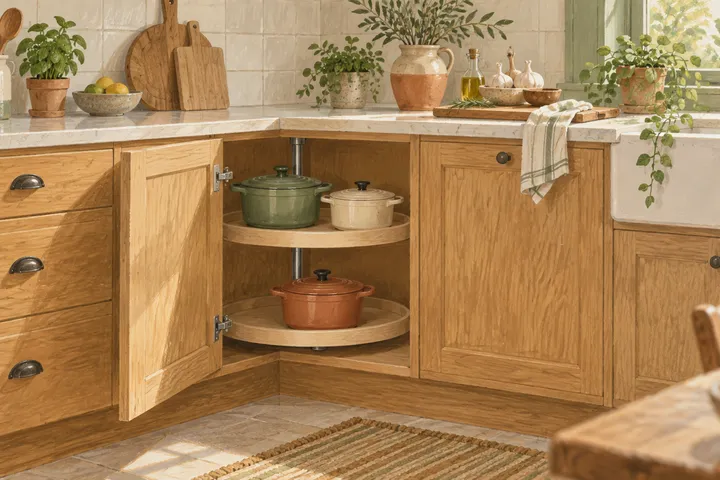
Identify corner cabinet types, map easy-reach zones and compare simple layouts with correctly matched rotating or swing-out fittings.
6 min read
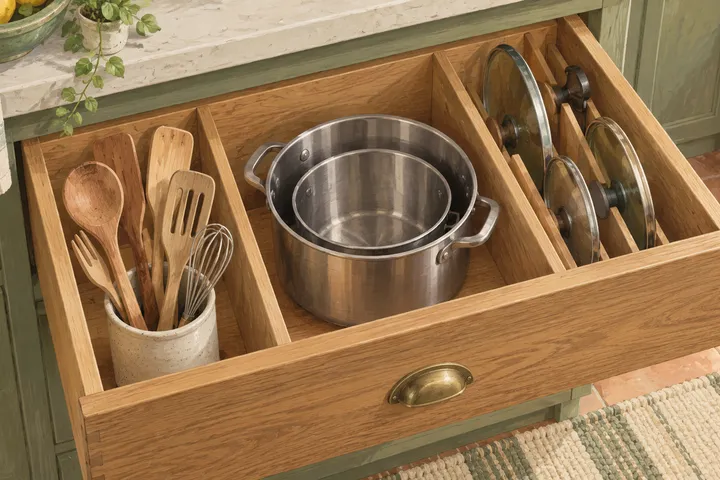
Measure usable drawer space, choose practical layouts for utensils, cookware and dry goods, and test the arrangement before buying organizers.
7 min read
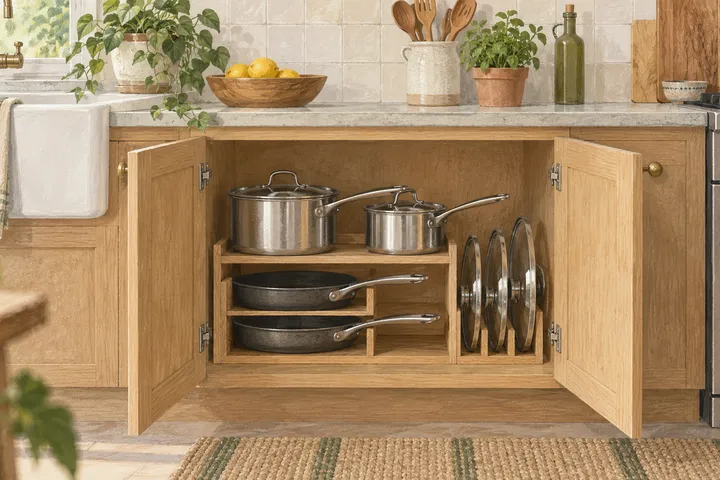
Compare stacking, upright racks, deep drawers and hanging rails to store everyday cookware comfortably in a small kitchen.
7 min read