How to Organize a Corner Kitchen Cabinet
Identify corner cabinet types, map easy-reach zones and compare simple layouts with correctly matched rotating or swing-out fittings.
6 min read
Measure usable drawer space, choose practical layouts for utensils, cookware and dry goods, and test the arrangement before buying organizers.
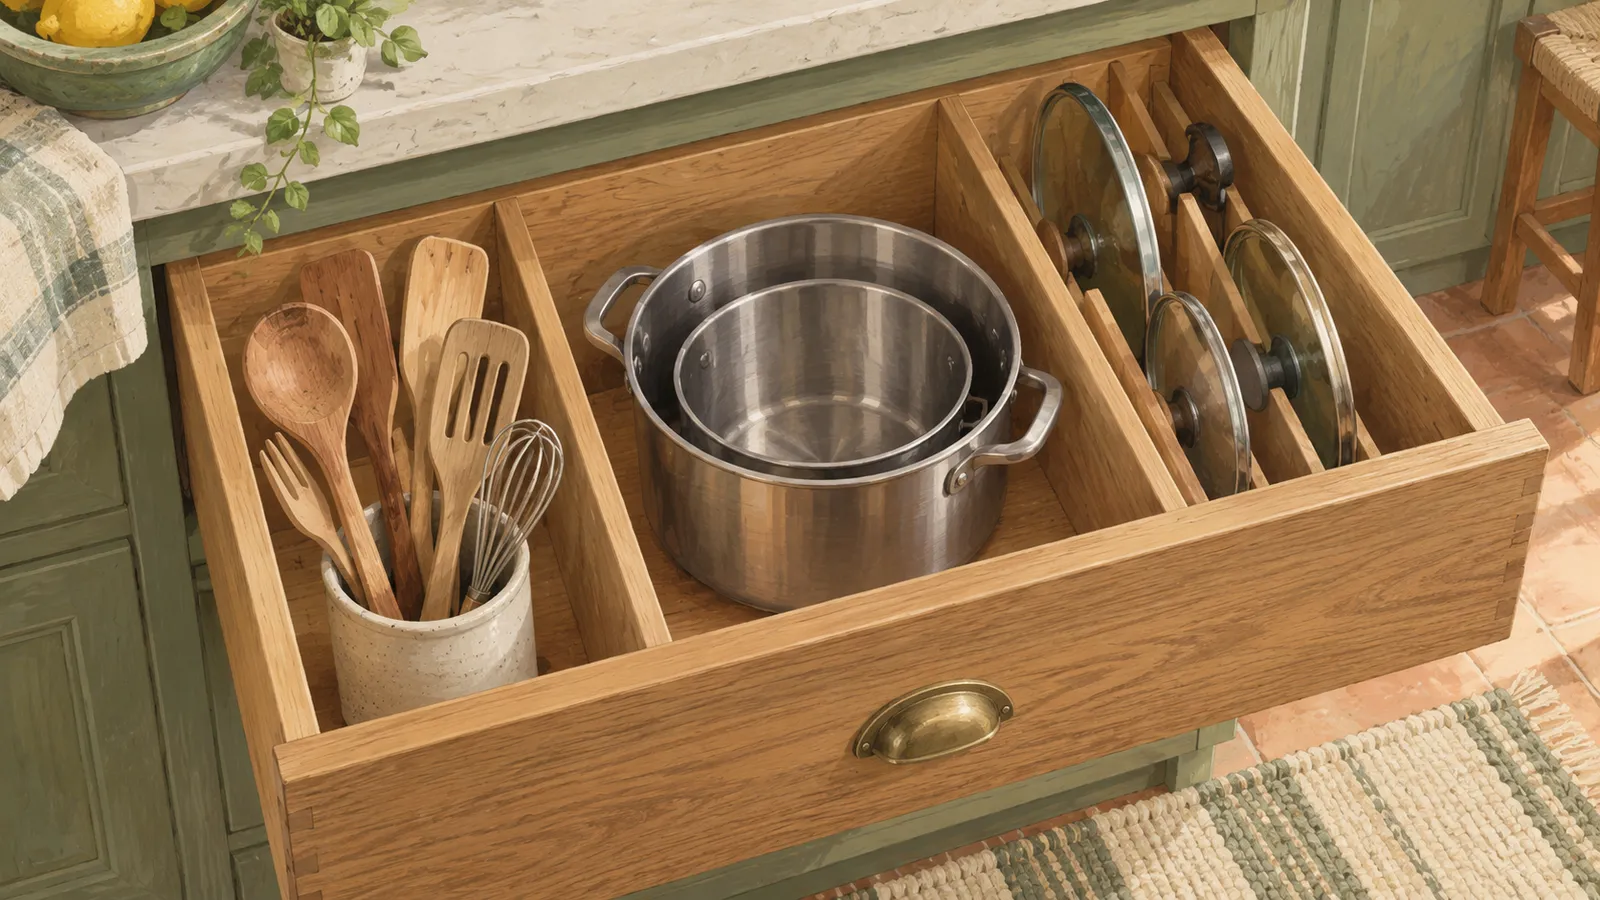
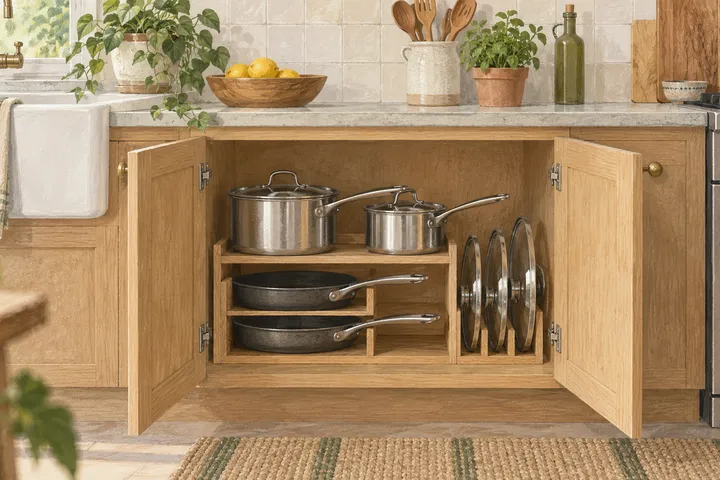
AI-generated editorial illustration; a conceptual scene, not a product photograph.
A deep kitchen drawer works best when you can see its contents and lift out what you need. Use upright dividers for lids, a few stable nests for cookware, or fitted containers for dry goods. Small utensils need a shallow layer where you can see them; dropping them into a tall box usually makes the drawer harder to use.
Measure the usable interior before buying anything. Build the layout around the objects you reach for most often, leaving room for your hands. A drawer is working well when you can remove one item and return it without rebuilding the rest.
The drawer front does not tell you its capacity. Curved sides, runners, a rear panel and the cabinet above can all reduce the available space. Open it fully and measure the narrowest usable width and the front-to-back floor. Measure height to the lowest obstruction overhead, not simply to the top of the sides.
If there is an internal drawer above, check it in its closed position. A tall container may look fine while both drawers are open and collide when you close them. Handles and lid knobs count toward height too.
Fill in your measurements before shopping. The right column contains hypothetical dimensions for comparison.
| Measurement | Your drawer | Example |
|---|---|---|
| Narrowest internal width | ___ cm | 52 cm (20½ in) |
| Usable floor depth | ___ cm | 45 cm (17¾ in) |
| Lowest overhead clearance | ___ cm | 24 cm (9½ in) |
| Space lost to runners or curved sides | ___ cm | Measured separately at each side |
| Largest object, including handle | ___ cm | Pan: 43 × 28 cm (17 × 11 in) |
| Maximum permitted drawer load | Check cabinet instructions | Unknown: confirm before loading |
| Room needed to lift an object out | Try it with the real object | Lid lifts freely when fully open |
Check the outside dimensions of an organizer, including its feet and dividers. Its advertised capacity is a separate matter. For example, Joseph Joseph’s expanding cookware organizer has a frame and adjustable divisions; the pans placed in it still determine the space required above and around it.
Empty the drawer onto a cleared surface and make three groups: things used most days, things used occasionally and things that belong elsewhere. Keep useful occasional pieces, but give the easiest space to daily tools. A roasting dish can move to a less convenient cupboard if it currently blocks your everyday saucepan.
Give the drawer one main role before dividing it. Mixing flour bags, a whisk, frying pans and lunch-box lids creates several different storage problems in one space. If this is your only deep drawer, divide it into clearly separate zones and keep each zone small enough to lift out or inspect.
If the drawer is still crowded after you sort it, the complete guide to a minimalist kitchen can help you decide which tools need to stay close to hand.
Put long utensils flat in a shallow tray at the front. Group them by action: stirring tools together, serving tools together, measuring tools together. Separate a whisk from sharp or snagging objects so its wires do not catch on everything else.
Use the remaining depth for a small lift-out box containing occasional tools. Do not create a second invisible layer of loose utensils beneath the main tray. If you use a raised insert, choose one made for the drawer, confirm that it rests securely and make sure it can be removed without spilling its contents.
An upright utensil container can work for wooden spoons in a sufficiently tall drawer. Try the spoons in a bowl you already own first. Close the drawer slowly by hand and watch the tallest handle. If the handle leans into the cabinet above, flat storage is the better answer.
Store knives in a purpose-made insert or protected position. A tall, open utensil bin is not a suitable place for loose blades. Avoid packing the drawer so tightly that you must reach blindly around sharp edges.
Place your heaviest pot on the floor of a suitable low drawer. Nest only the pieces that fit comfortably together and that you are willing to lift each time. Two pots may be a useful nest; five can become a chore, especially when the one you want is at the bottom.
Keep lids upright along one side if their diameter and knobs fit beneath the cabinet. An adjustable rack lets you set the spacing to suit each lid. IKEA’s VARIERA lid organizer illustrates this approach; check the version sold in your market and its measurements before ordering.
Peg systems are another way to stop stacks shifting. IKEA’s UPPDATERA pegboard organizer uses repositionable pegs, so the arrangement can follow the dishes. Pegs do not increase the drawer’s load rating or make an unstable stack safe. Keep stacks low and test them with the drawer opening normally.
Leave a small hand space beside handles. If you have to pinch a handle between two fingers to get a pan out, move its neighbour farther away. Our small-kitchen pots and pans guide compares upright storage with stacking and hanging.
Use a deep drawer for dry ingredients only if it is dry, clean and away from a source of unwanted heat. Arrange frequently used ingredients toward the front. Keep unopened replacements behind them, rather than placing two open packets of the same ingredient in different corners.
Folded packets held in one washable bin may be enough. If you decant food, choose containers intended for food storage and keep the original ingredient, allergen and date information. A lid label is often easier to read in a drawer than a side label.
Test a container with the scoop or measuring cup you use. A jar that holds a bag of flour but will not admit your measuring cup may slow cooking down. Leave enough room to lift it without scraping neighbouring lids.
Tall jars at the back can hide shorter ones. Group by height where possible, or use a shallow front row for smaller packets. Avoid stacking open ingredients on top of one another just because the drawer is deep.
Run through an ordinary cooking task. Take out the pan, its lid and the utensil you need. Put them back as you would after washing. Then repeat the exercise with the least convenient object. If that object requires a complete rearrangement, change its position now.
Use temporary boxes to try the layout for a week. Notice where your hands go first and where a tool gets abandoned. Buy a divider only for a problem you have actually observed: a sliding stack, a row of toppling lids or a category that spreads across the floor.
Leave a little spare space so you can return things easily when you are tired and adjust the layout when your cooking habits change.
When food boxes are part of the problem, give their lids a separate home using our container and lid organization guide. After washing up, you should be able to put everything back with the same ease you took it out.
Sources describe their own scope and limitations. Read our sourcing policy.
Read more from the Minimalist Kitchen Living pillar.
Minimalist
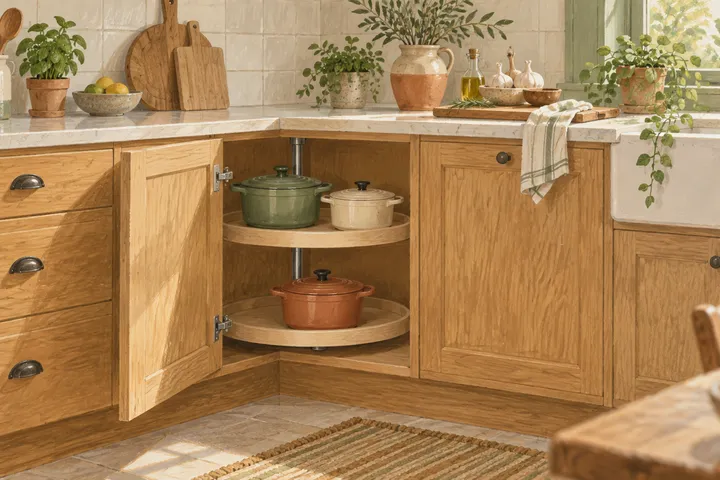
Identify corner cabinet types, map easy-reach zones and compare simple layouts with correctly matched rotating or swing-out fittings.
6 min read
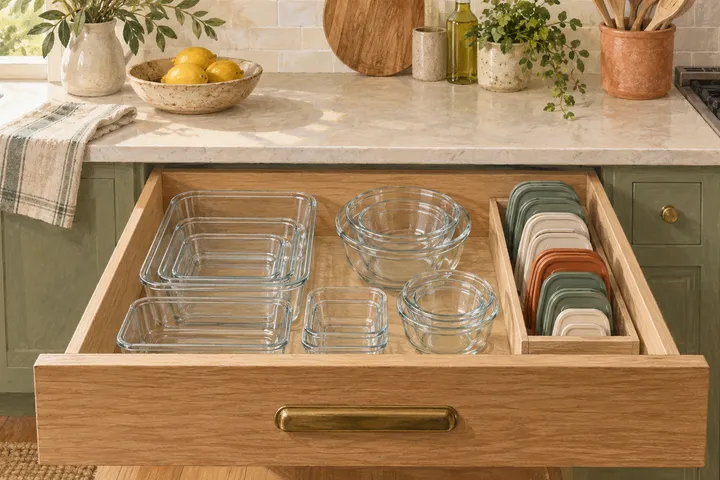
Match containers to lids and real meals, then choose nesting, upright dividers or assembled pairs with a practical weekly worksheet.
7 min read
Compare stacking, upright racks, deep drawers and hanging rails to store everyday cookware comfortably in a small kitchen.
7 min read