The Complete Guide to a Minimalist Kitchen: Design, Organization & Mindful Essentials
A minimalist kitchen isn't an empty one. Here's how to build a calm, intentional kitchen that still works hard for people who actually cook every day.
16 min read
How to keep a pantry-free kitchen calm and functional: create a designated pantry zone in your cabinets or drawers, edit before you store, decant only what's worth it, and shop in a rhythm that keeps stock small.
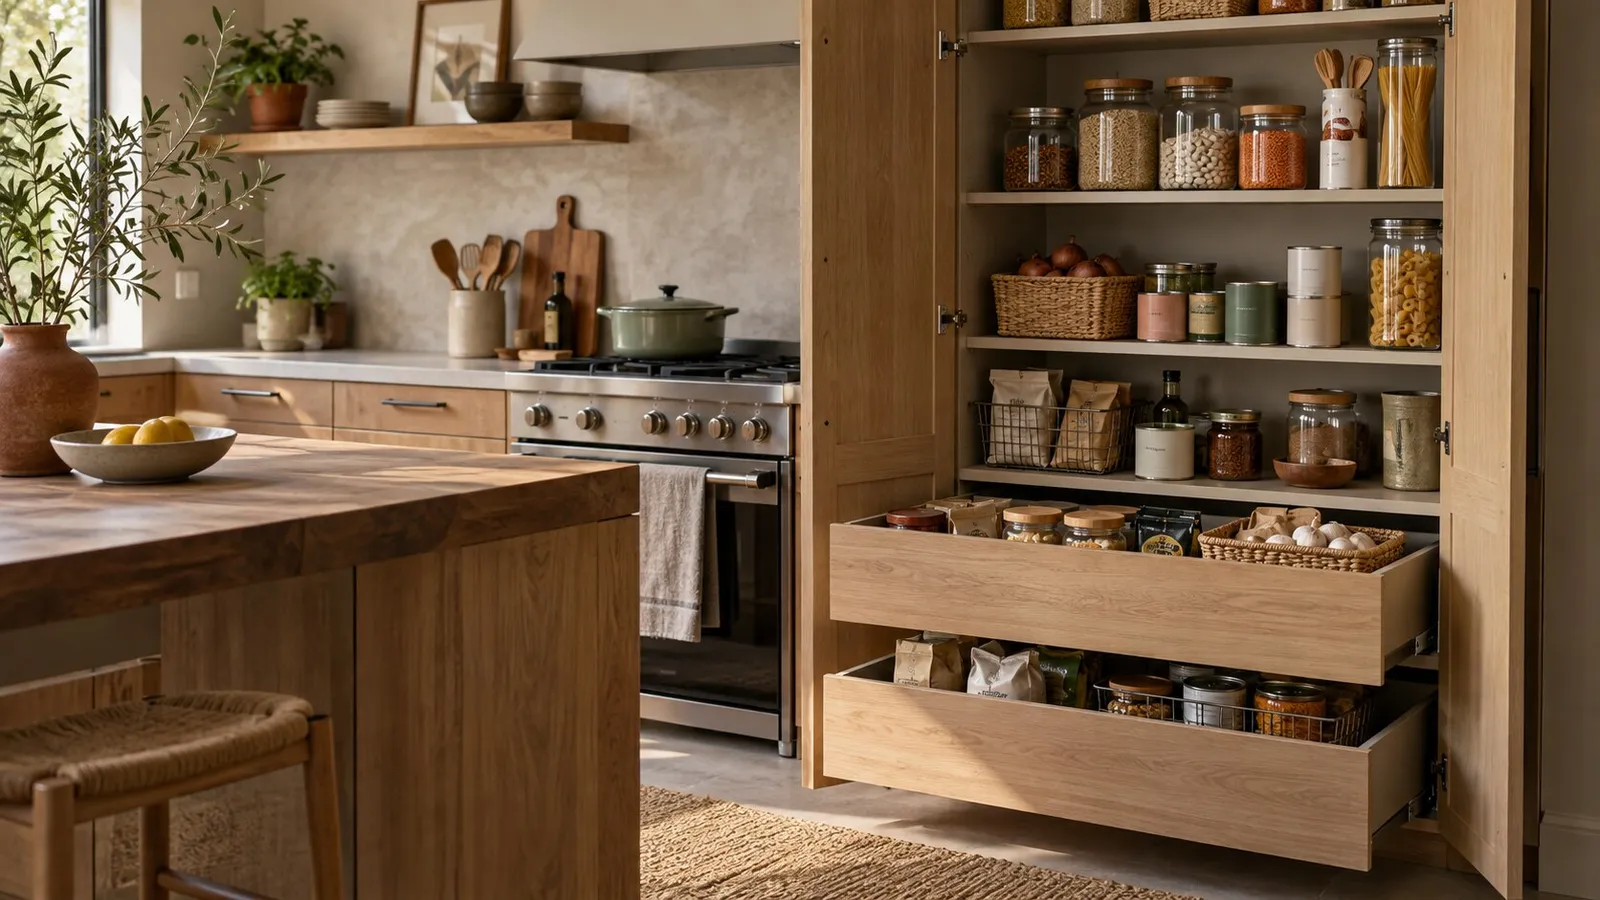
Editorial image for illustration; not a product-testing record or a documented kitchen project.
Some links may earn Zen Kitchen a commission if you buy, at no additional cost to you. Our evaluations are based on published sources. Read our affiliate policy.
To organize a kitchen with no pantry, choose one cabinet, a deep drawer, or a freestanding shelf and make it your pantry zone. Edit your food before you store it, keep only what you’ll use in the next few weeks, store it so you can see every item at a glance, and move bulk overflow out of the kitchen. A pantry is a system, not a room. You can build the system anywhere.
The kitchens that struggle without a pantry usually aren’t short on space. They’re short on a single designated place for food, so dry goods end up scattered across four cabinets, the top of the fridge, and the counter.
Here’s how to fix that, step by step.
A replacement pantry is a defined zone where all your shelf-stable food lives together. It can be:
The important thing isn’t where it is. It’s that there’s one place, everyone in the household knows where it is, and food doesn’t live anywhere else.
That single rule does more than any container. When food is scattered, you can’t see what you have, so you buy duplicates, forget things until they expire, and never quite know what’s for dinner. When it’s all in one zone, the zone itself becomes your inventory.
Every good pantry-free kitchen starts with less food in it. This isn’t about eating less. It’s about holding less backup.
Take every shelf-stable item out of every cabinet, drawer, and corner, and put it all on the table or the floor. It’s usually more than people expect. Then sort it into four groups:
What’s left in “keep” is the actual size of your pantry. Build the system around that, not around what you used to have.
A useful check at this point: how many of the kept items are ingredients for meals you actually cook? If you have ingredients for recipes you haven’t made in a year, they’re taking space from the ones you make every week.
The best location depends on your kitchen’s layout, but a few principles hold everywhere.
Close to prep, away from heat. Dry goods, oils, and spices keep better away from the stove, the oven, and the dishwasher, where heat and steam can shorten their life. The ideal spot is a cabinet or drawer between the fridge and the prep counter.
Eye level to waist level for daily items. The things you cook with most (oil, salt, rice, pasta, oats, canned tomatoes) belong in the most reachable space. Occasional items can go higher or lower.
Enough to hold everything in your “keep” pile, with a little room. If your zone is full on day one, you’ll have nowhere to put the next grocery shop. Aim for about three-quarters full.
If no single cabinet is big enough, split it, but by category, not randomly. For example, baking supplies in one upper cabinet, and everyday staples in the drawer by the stove. Each category still has exactly one home.
The main problem with cabinet pantries is depth. Things go to the back and disappear. Whatever system you choose, the goal is that you can see every item without moving anything.
In upper cabinets:
In deep drawers: Drawers are the best pantry-free storage there is, because you look down into them and see everything at once.
In a freestanding cabinet or shelf:
Decanting means moving food out of its original packaging and into your own containers. It’s popular, it looks good, and it’s often overdone. Here’s when it’s worth the effort.
Decant when:
Don’t decant when:
Labeling. Label every container with its contents and, for anything that doesn’t keep indefinitely, the date you opened or decanted it. A strip of masking tape and a marker is perfectly fine. Put labels where you’ll see them: on the front for cabinets, on the lid for drawers.
First in, first out. When you refill a container, don’t pour new food on top of old. Use up the old first, or empty it into a bowl, add the new, and pour the old back on top. For cans and jars, put new purchases at the back and move older ones forward.
Choose one container system and stick with it. Square or rectangular containers use space better than round ones. Clear sides let you see how much is left. Buying one line in a few sizes means lids are interchangeable and containers stack neatly.
When you have no pantry, you have to find storage in the places a pantry would normally provide.
Inside cabinet doors. Slim racks or adhesive shelves on the inside of cabinet doors can hold spices, small jars, or packets. Measure first to make sure the door still closes over the shelves inside.
Over-the-door racks. If there’s a door near the kitchen (a closet, a utility room, the back of the kitchen door itself), an over-the-door rack with shallow shelves can hold a surprising amount: cans, jars, spices, snacks. It’s renter-friendly and works like a narrow pantry wall.
A wall rail or narrow shelf. A single ledge-style shelf can hold oils, vinegars, and a few frequently used jars near the stove. Keep it to things you use daily so it doesn’t become a display of dusty bottles.
If your cabinets just can’t hold your food, a freestanding piece can act as your pantry. A few options, from smallest to largest:
A slim rolling cart. Carts made to fit into a gap of just a few inches beside the fridge or between an appliance and the wall can hold canned goods, oils, and spices. They roll out when you need them and disappear when you don’t.
A three-tier utility cart. Can hold a week’s worth of produce that doesn’t need refrigeration (onions, potatoes, garlic, squash), plus bread and snacks. Useful as a mobile pantry that can move between the kitchen and a table.
A bookshelf or pantry cabinet. A tall, narrow cabinet with doors in or just outside the kitchen can hold as much as a small built-in pantry. Doors keep the look calm. If it’s an open bookshelf, use matching baskets or closed boxes on most shelves.
A kitchen island or trolley with storage. In a larger room with little cabinet space, a freestanding island adds both prep surface and pantry storage below.
When you add a freestanding piece, it helps to choose one that matches your kitchen’s materials, like wood that echoes your cutting board or a finish that matches your cabinets. It will read as part of the room, not as extra furniture.
A kitchen without a pantry can’t hold bulk stock. That’s fine. Stock doesn’t need to be in the kitchen.
If you buy in bulk for good reasons (budget, fewer shopping trips, a big household), keep the backup supply somewhere else: a hall closet, a shelf in the laundry room, a bin under the bed, a garage shelf that stays cool and dry. The kitchen zone only holds what’s currently open plus one backup of your most-used items.
Set a simple rule: when the kitchen container runs low, refill it from overflow, and add the item to your shopping list only when the overflow is empty.
Be careful about where overflow goes. Food should be stored somewhere cool, dry, and pest-free. Avoid garages that get hot in summer or damp in winter for things like flour, oils, and anything in a paper bag.
In a kitchen without a pantry, the shopping habit matters as much as the storage. The goal is a rhythm that brings in food at the rate you use it.
Shop more often, in smaller amounts. A weekly shop for perishables and a monthly top-up for staples keeps your pantry zone from overflowing.
Keep a running list. A list on the fridge or in your phone, updated the moment something runs low, stops panic-buying and duplicates.
Plan loosely. You don’t need a rigid meal plan. A rough idea of four or five dinners for the week is enough to avoid buying ingredients for meals that never happen. If this feels like a lot, our guide to cooking as meditation makes the case that simpler, repeated meals are a feature, not a failure.
Check the zone before you shop. A thirty-second look at your pantry drawer or cabinet before you leave the house is the single best way to avoid buying something you already have.
Be wary of deals that don’t fit. A bulk discount on something you don’t have room for isn’t a saving if it spills onto your counter for three months.
Here’s how the system might look in a small kitchen with a few upper cabinets, two deep drawers, and a gap beside the fridge. Adjust for your own layout.
| Location | What goes there | Storage method |
|---|---|---|
| Upper cabinet nearest the prep counter | Everyday staples: rice, pasta, oats, lentils, canned tomatoes, stock | Matching decanted containers on a riser; cans one row deep |
| Second upper cabinet | Baking: flour, sugar, baking soda, chocolate, vanilla; breakfast items | Decanted containers for flour and sugar; small items in one pull-out bin |
| Deep drawer by the stove | Oils, vinegars, sauces, salt, and spices | Upright bottles; spice jars labeled on the lids |
| Second deep drawer | Snacks, crackers, nuts, dried fruit, tea, coffee | Dividers by category; clear containers |
| Slim rolling cart beside the fridge | Canned goods backup, extra oil, extra sauces | Items grouped by type, oldest in front |
| Inside of a cabinet door | Packets and small jars | Slim adhesive rack |
| Countertop | Produce that shouldn’t go in the fridge (onions, garlic, potatoes) | One bowl or basket kept away from direct sun |
| Hall closet or utility shelf | Bulk overflow | Closed bins, labeled by category |
Every category has exactly one home, and the kitchen holds only what’s in active use.
A pantry-free kitchen stays organized with a few small habits.
Unpack groceries into the zone, never onto the counter. The counter is where overflow starts. Our guide to decluttering kitchen counters explains why a clear surface is worth protecting.
Do a monthly five-minute check. Pull everything to the front, check dates, combine duplicates, and note what’s running low.
Follow one in, one out for containers and gadgets. It applies to food storage too. A new set of jars means the old ones leave.
Score the zone occasionally. If you use the Calm Kitchen Index, the pantry zone affects two dimensions most: functional efficiency (can you find what you need in one step?) and essential-to-excess ratio (how much of what you’re storing do you actually use?).
Where do I put food if I don’t have a pantry? Choose one designated zone: an upper cabinet, a deep drawer, or a freestanding cabinet or cart. Keep all shelf-stable food there and nowhere else, so the zone doubles as your inventory.
Is it worth decanting food into containers? For staples you use weekly and buy often, yes, especially flour, grains, pasta, and oats. For items already in good containers or used rarely, it usually isn’t worth the effort.
How do I store food in deep cabinets without losing things? Use risers and turntables, store items one row deep where possible, and group small packets in pull-out bins. If you must go two rows deep, put identical items behind each other.
Can I use a bookshelf as a pantry? Yes. A tall, narrow bookshelf works well, especially with matching baskets or boxes to hide packaging. A cabinet with doors will look calmer.
How do I stop buying food I already have? Keep all food in one zone, check it before you shop, and keep a running list you update the moment something runs low.
Where should I store bulk purchases? Outside the kitchen, somewhere cool, dry, and pest-free, such as a hall closet or a utility shelf. Refill the kitchen from there as you need to.
What’s the best storage for a small kitchen with no pantry? Deep drawers are the most efficient, because you can see everything from above. After that, upper cabinets with risers and a slim rolling cart fill in most gaps.
Start with the edit. Pull all your food out in one go, get rid of what’s expired or won’t be used, and see how much you actually need to store. For most kitchens, it’s less than it seemed.
Then choose one zone and put it all back there, sorted by category, with your most-used items in front. Don’t buy containers until you’ve lived with the zone for a week and know what size you need.
A pantry is a habit of keeping food in one place and only as much as you’ll use. The room is optional.
Keep reading: Small Kitchen Organization Ideas · How to Declutter Your Kitchen Counters · Minimalist Kitchen Essentials · The Complete Guide to a Minimalist Kitchen
IKEA’s pantry guidance provides manufacturer examples of shelf and container arrangements. The layout above is hypothetical; measure your own room and use the exact product’s load and installation guidance.
Sources describe their own scope and limitations. Read our sourcing policy.
Read more from the Minimalist Kitchen Living pillar.
Minimalist
A minimalist kitchen isn't an empty one. Here's how to build a calm, intentional kitchen that still works hard for people who actually cook every day.
16 min read
Practical organization ideas for small kitchens: how to use vertical space, deep drawers, and the hidden corners most people ignore, and keep a tiny kitchen calm and functional without buying a lot of bins.
16 min read
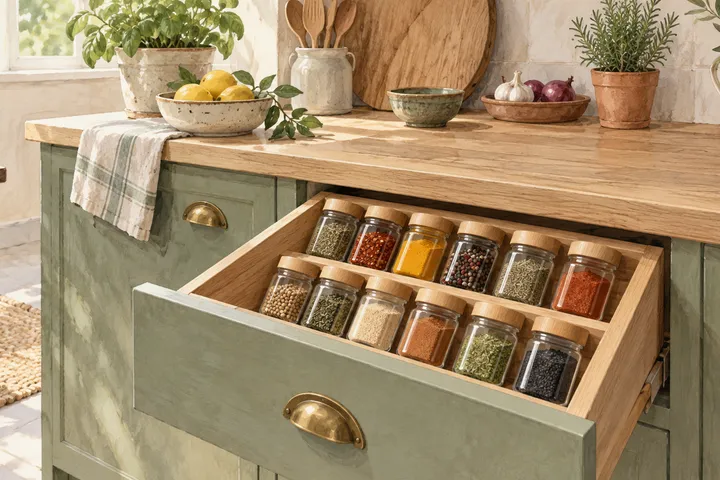
Choose spice storage by access, drawer fit, heat and light, with a small-collection worksheet and verified organizer examples.
7 min read